How to export lab scans in STL/DCM/PLY formats
Getting STL files from 3Shape ScanItDental:
It is not possible to scan directly in .stl format using ScanItDental, but the scans can be exported as .stl files by following these steps:
Step 1: Scan the order in Dental System - ScanItDental.
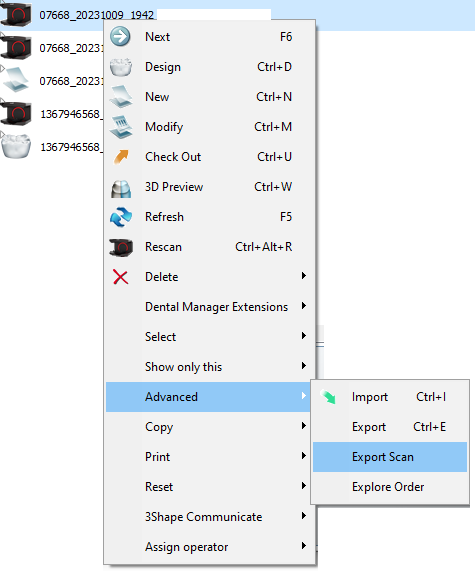
Step 2: In Dental Manager right click on the scanned order.
Step 3: Go to Advanced and then Export scan.

ScanIt Restoration STL Output' option should be enabled on the dongle before scanning or exporting in STL format.
In case you are not able to see the “Export Scan” option, contact your reseller/provider or, in case you are not sure, refer to 3Shape support in order to request the dongle option to be enabled (subject to your subscription terms and conditions).
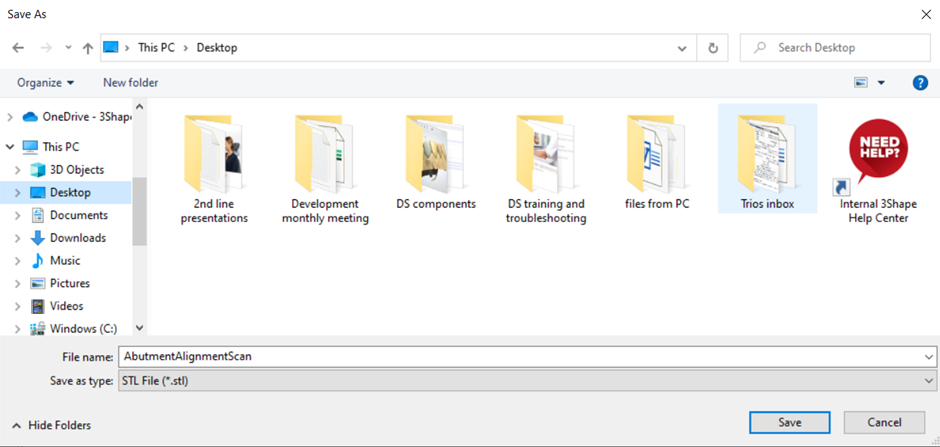
Step 4: In "Save as type" you can choose STL File (.stl), modify the file name as needed and navigate to the location where the scans should be saved.
3 ways to export desktop scans
To export desktop scans, 3 different formats are supported:
DCM - internal 3Shape format of scans which can be used in Dental System, Ortho System, Implant Studio, etc. Reflects real life colors.
STL - scan format that can be used in any 3Shape software or 3rd party software which supports it. 3D model is in black and white colors. Texture and the quality scan is in the same as DCM format.
PLY - similar to STL format, it is scan format that can be used in 3rd party software which supports it. 3D model is in adapted colors. Texture and quality of the scan is the same as DCM format. To export with this scan format is available only from Dental System 2021 or higher.
In Dental System it is possible to export TRIOS scans in STL, DCM and PLY format. There are different options for making scans, for example, in different direction, or in different sizes. As an example, below is a short description of any variants of the TRIOS scan export in STL.
To have the possibility to export TRIOS scans in STL, make sure that the TRIOS Scan STL Export option is enabled on the dongle to use this workflow.
In case you are not able to locate the “Export Scan” button,
Right click on the Trios order in Dental Manager, select Advanced, and then choose Export Scan.
Step 1: The first confirmation window appears: “Save model in Y-axes, or Z-axes?” With this option it is possible to save scans in different directions. 
Step 2: A second confirmation appears: “Decimate scan?” By selecting Yes, you can choose the size for which the scan should be decimated. This option can be used to make scans less detailed in size. It is possible to choose the percentage of decimation.
If you select No, the scans will be saved in the original size.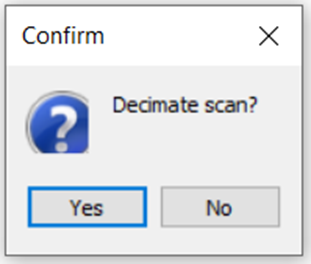

After clicking Ok, and finishing the export files, the software saves the scan in less size according the original scan.
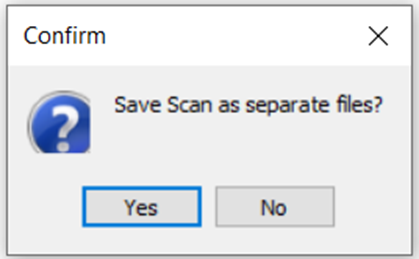
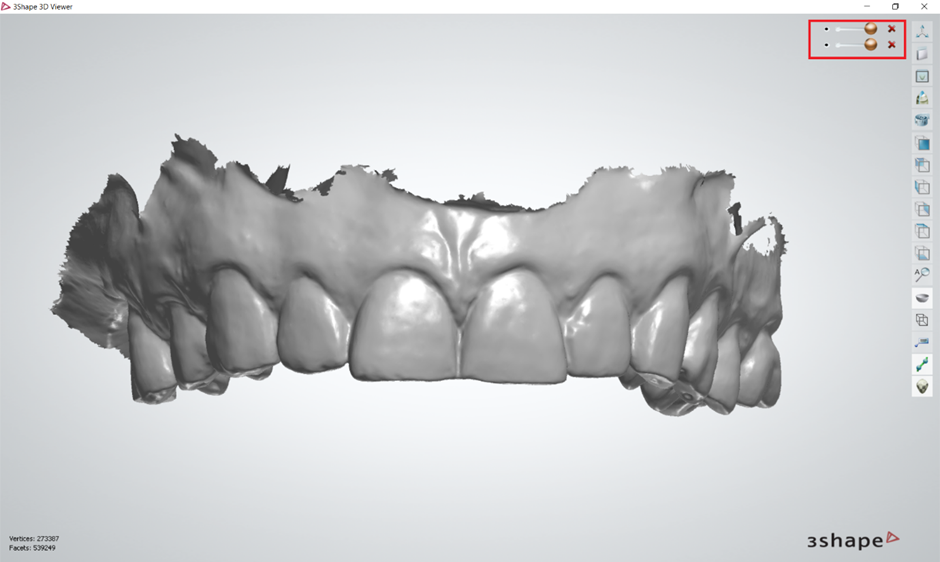
Step 3: A third pop-up will give you the option to save each scan from the order in separate STL files. Orders usually contain a preparation scan (this is the jaw where the restoration is located, can be upper or lower), antagonist scan (the jaw opposite to the one where the restoration is located), bite scans (occlusion). Any other scans contained within the order, such as pre-preparation or scan body scans will also be saved separately.
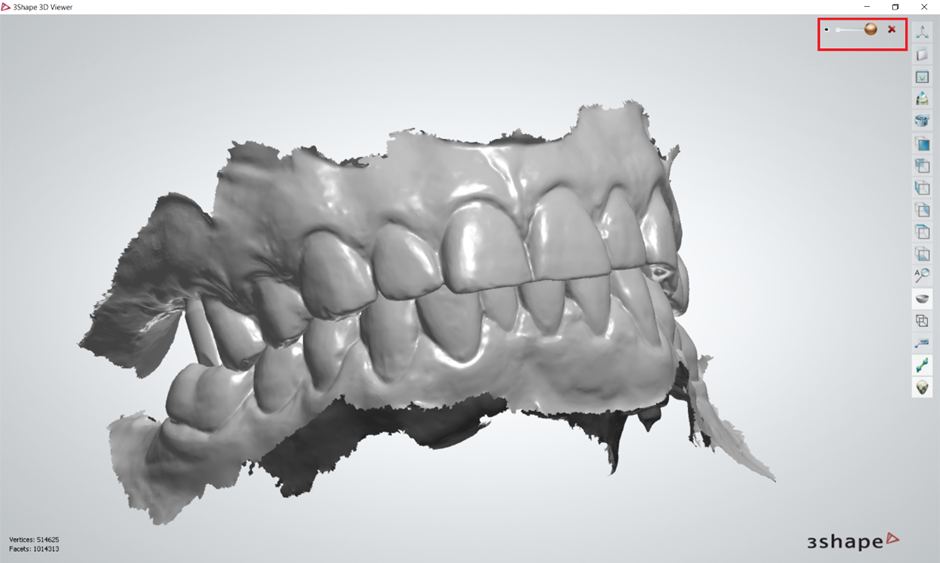
If you select No, the software will save all scans in one single STL file. This option can be used if there is a need to align new scans to the old occlusion. The occlusion will be saved here as well.
Step 5: After confirming all of the above steps, the software will open the pop-up to save scans in STL. Choose where the file will be saved and click the "Save" button.